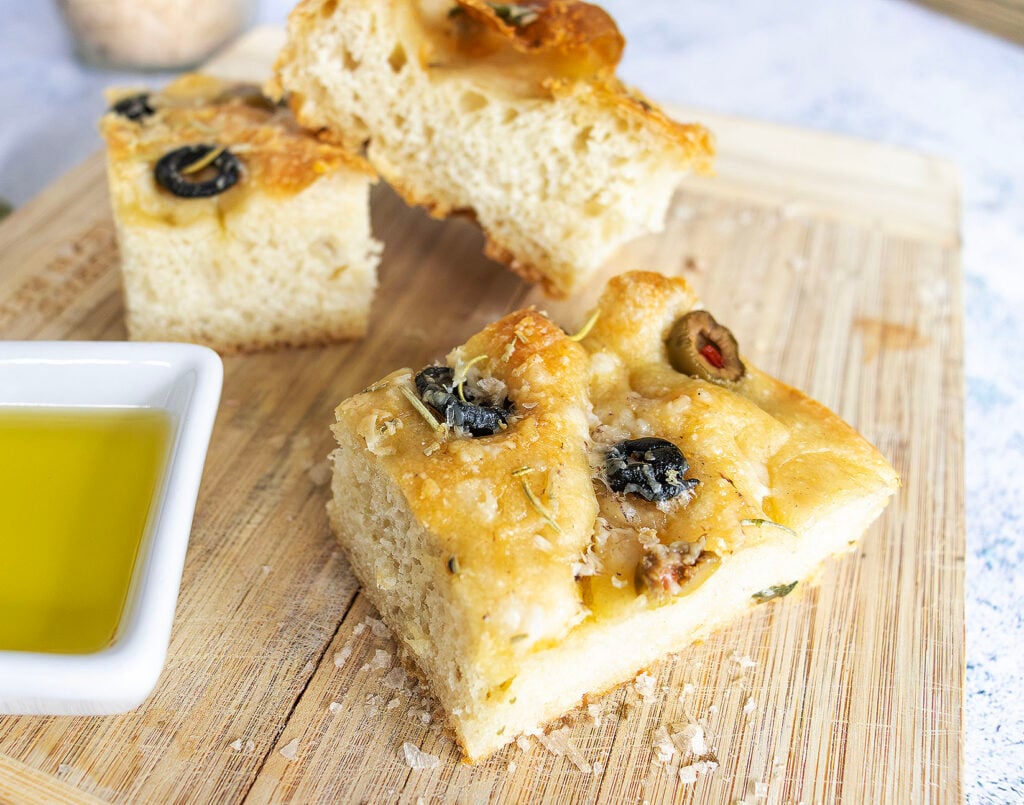
This Asiago Focaccia is soft, airy and perfectly chewy, topped with three kinds of olives, fresh rosemary, garlic and smoked sea salt.
I make certain recipes because I need dinner on the table.
And then there are other recipes I make on day one knowing damn well I won’t even get to eat them until day two.
This Asiago Focaccia is the second kind. It takes its sweet time. It rises, gets folded, rises again, spends the night in the refrigerator contemplating its future, and eventually emerges as a ridiculously soft, bouncy slab of bread covered in olive oil, Asiago cheese, garlic, fresh rosemary, three kinds of olives, and smoky flakes of Maldon salt.
In other words, it’s worth the wait.
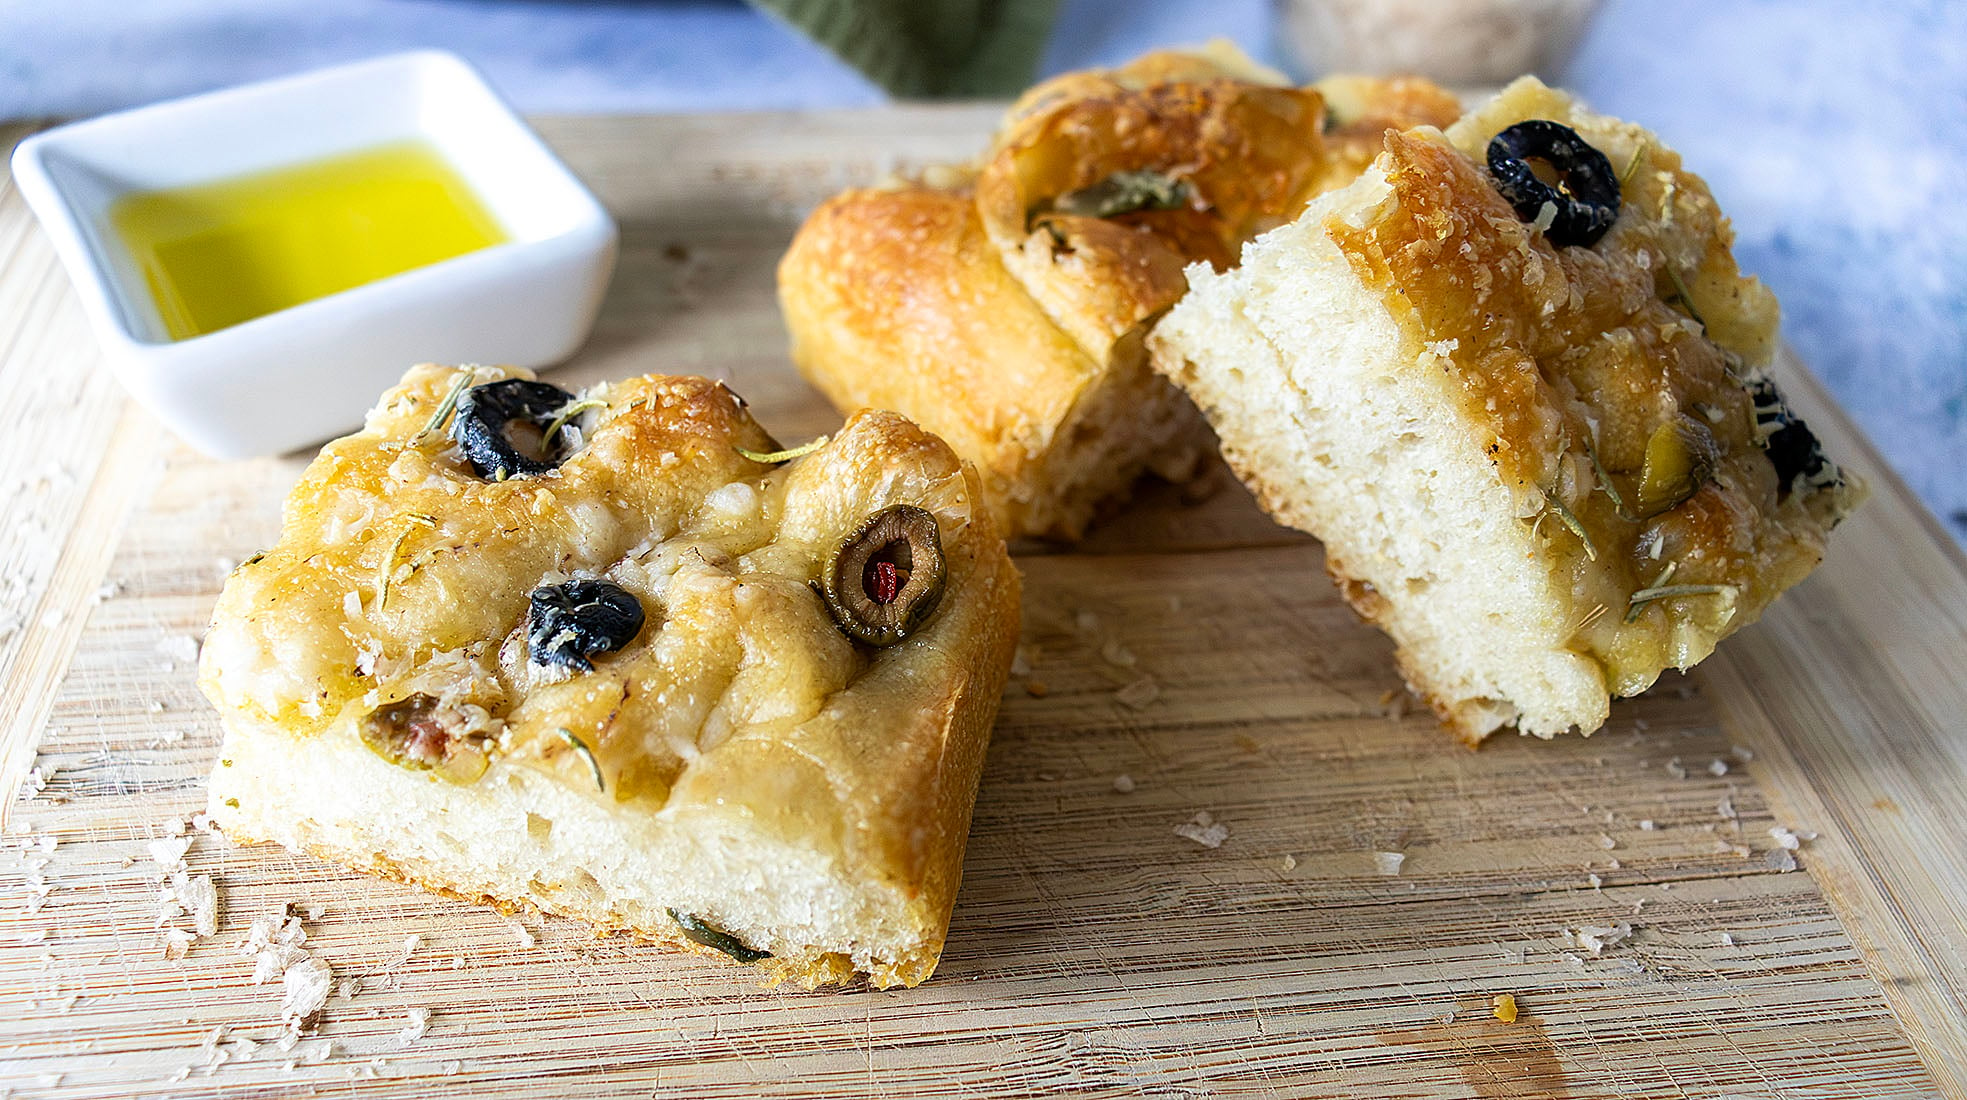
This isn’t difficult bread.
At all.
There’s no aggressive kneading, no flour-covered countertop, and no standing over a ball of dough wondering whether you’ve developed enough gluten or are just developing carpal tunnel. Instead, I use a simple folding method during the rises. Six folds at a time, repeated between three rises, builds structure in the dough without beating the hell out of it. The result is exactly what I want from focaccia: big beautiful air pockets, a soft and almost squishy interior, crispy golden edges, and that fantastic little bounce when you press into it.
And then, obviously, I cover the whole thing in olives.
The Focaccia That Takes Two Days – But Isn’t Two Days of Work
Before the phrase “two-day focaccia” sends you fleeing toward a loaf of supermarket French bread, let me explain. Most of that time, you aren’t doing anything because the dough is doing the work. This is one of those recipes where time is an ingredient, which sounds obnoxiously poetic until you’ve tasted bread that has been given a slow overnight rise in the refrigerator.
That long, cold fermentation gives the dough time to develop more flavor while also improving its texture. You mix it on day one, give it its folds and rises, then tuck it into the refrigerator overnight.
Go live your life. Have dinner. Pour a glass of wine. Forget about the dough entirely – tomorrow, it becomes focaccia.
Why I Fold Focaccia Dough Instead of Kneading It
Instead of kneading my focaccia dough, I fold it. During the rising process, I reach underneath one side of the dough, gently stretch it upward, and fold it over itself. Then I rotate and repeat until I’ve done six folds.
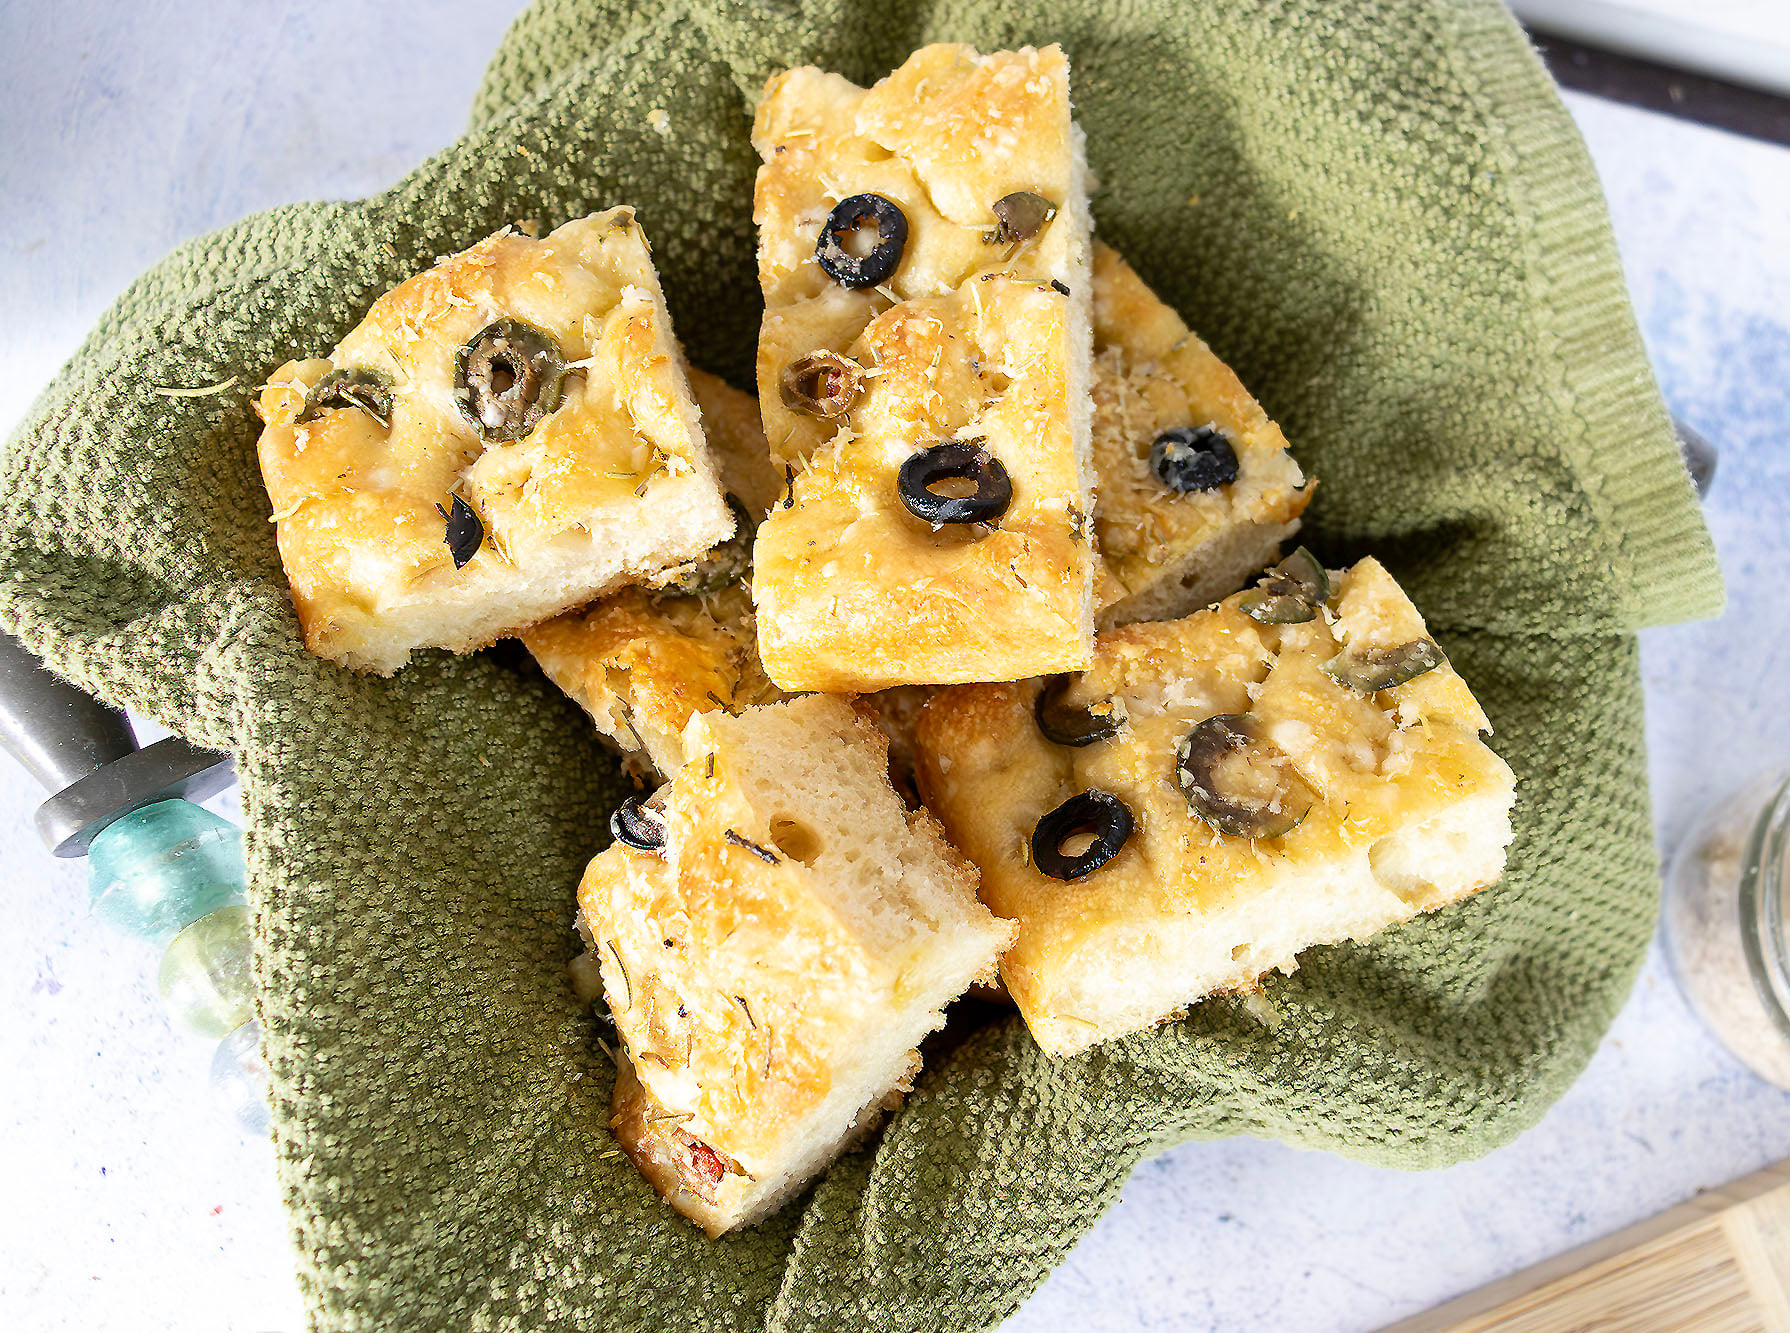
That’s it.
I do this between each of three rises. The folds strengthen the gluten network while preserving the air developing inside the dough. With each round, you’ll notice the dough becoming smoother, stretchier, and more structured. By the time it’s ready for the pan, it has transformed from a sticky blob into this wonderfully elastic, pillowy situation. Those folds are also part of the reason you get those gorgeous irregular holes inside instead of a tight, dense crumb.
We’re making focaccia, not a mattress pad. Be gentle with it.
The Overnight Refrigerator Rise
Once the dough has gone through its folds and rises, into the refrigerator it goes. The cold dramatically slows the yeast down but doesn’t completely stop fermentation. While you’re sleeping, the dough is quietly developing flavor and creating all those little bubbles you’re going to become emotionally attached to tomorrow. This is also one reason I love making focaccia when I’m expecting guests for dinner or a get-together.
You can get the messy part out of the way the day before. The next day, you’re basically dealing with dough that already did its homework. Give it time to come back to life, ease it into its generously oiled pan, and let it relax. Don’t fight the dough if it doesn’t immediately stretch all the way to the corners. Dough remembers when you’ve pissed it off.
Give it a few minutes and try again. Eventually it’ll relax and spread beautifully.
Dimple The Asiago Focaccia Dough
Possibly the most satisfying part of making focaccia is sticking your fingers into it. Once the dough is beautifully risen and bubbly, drizzle it generously – and I mean generously – with olive oil. Then press your fingertips straight down into the dough, creating those signature focaccia dimples. Don’t timidly poke at it. Get in there good with your (clean) fingers.
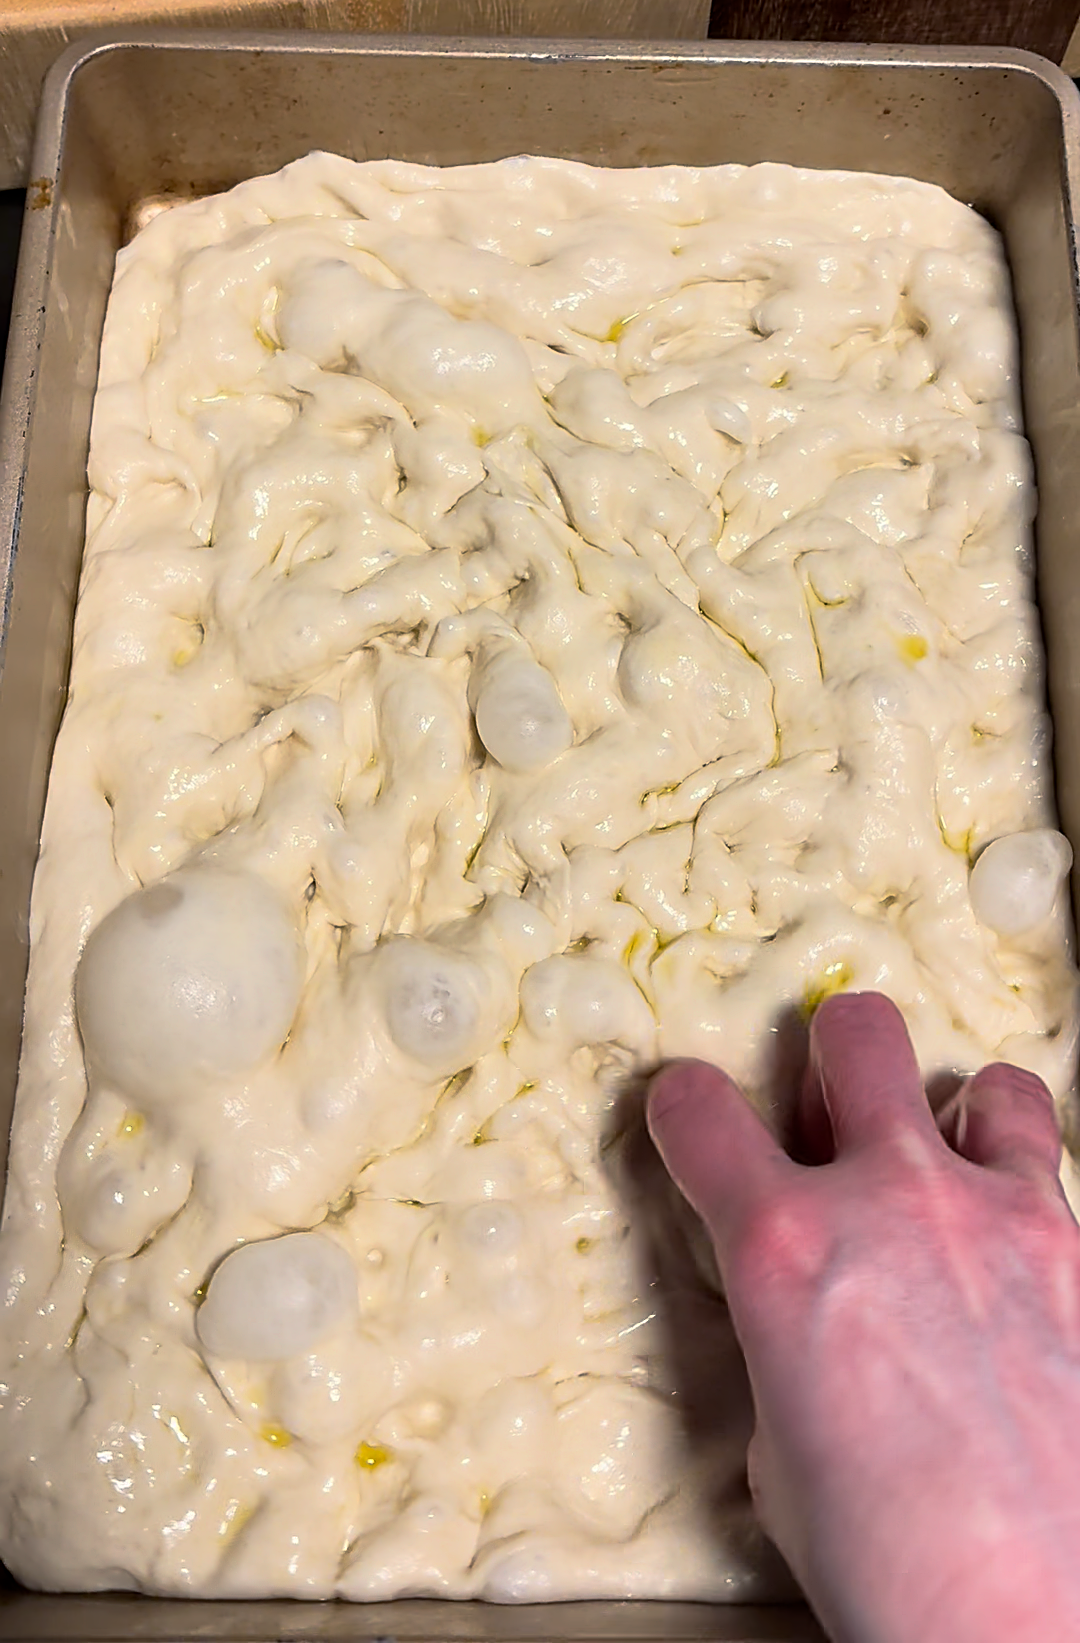
Yes, my hand is red here, just ignore it. The olive oil settles into those little valleys while the dough bubbles up around them, which is how you get that unmistakable craggy focaccia surface with crispy spots, tender spots, and tiny pools of olive oil. Those bubbles make me so happy.
This is definitely not the time to become concerned about fat grams, calories or carbs.
Three Olives Are Better Than One
I use three kinds of olives on this focaccia because they each bring something completely different.
Kalamata olives are dark, briny, fruity, and assertive. They’re the olives that walk into the room and immediately start talking. These are the olives I associate with a Greek salad on top of a hunk of feta cheese.
Castelvetrano olives are their complete opposite. They’re buttery, mild, slightly sweet, and almost meaty. Even people who claim they don’t like olives sometimes mysteriously keep eating Castelvetranos.
Then there are Manzanilla olives, which bring that deeper, earthy olive flavor that falls somewhere between the other two. Manzanilla can be either black or green, and the green ones are the olives that are in most everyone’s refrigerator door.
Together, they give the focaccia layers of salty, buttery, fruity flavor instead of making the entire thing taste like one giant olive. I scatter them generously across the top and gently press some down into the dough. Some stay exposed and get a little wrinkly and roasted in the oven; others settle into the soft bread.
Every piece ends up a little different.
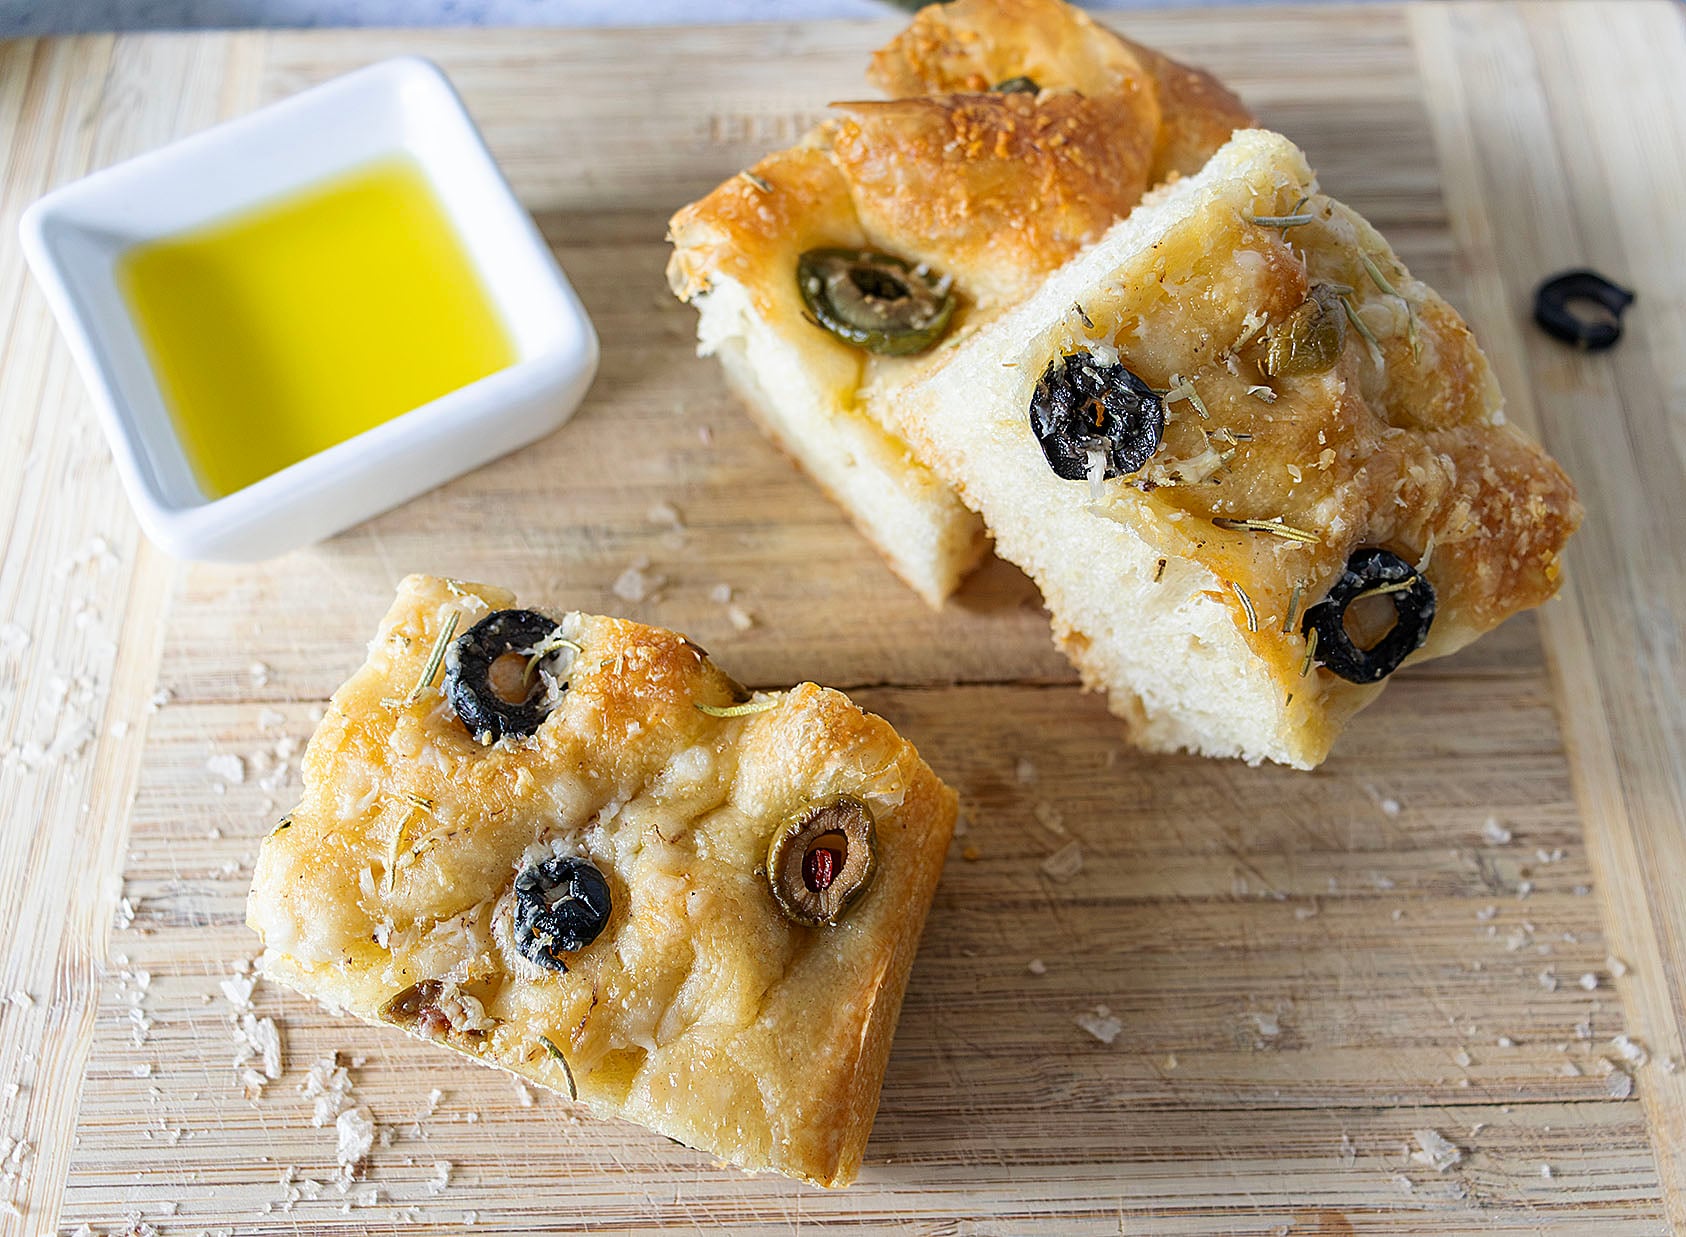
Garlic, Rosemary, Olive Oil, Asiago and Smoked Maldon Salt
As if three kinds of olives weren’t enough, there’s garlic.
Because of course there’s garlic. And then there’s fresh rosemary, which may as well have been genetically engineered for focaccia. Its woodsy, almost piney flavor cuts through all that rich olive oil and plays ridiculously well with the briny olives and garlic.
The asiago cheese, that is both nutty and buttery, enhances the olives’ flavors like nobody’s business. Shred it finely and don’t be shy with it – this is, after all, Asiago Focaccia.
I scatter the rosemary over the dough along with the olives, letting some of those little leaves settle into the dimples and some stay right on top, where they get fragrant and slightly crisp in the oven. The garlic, asiago cheese, rosemary, and olive oil work their way down into those dimples and around the olives as the focaccia bakes, while the exposed areas turn golden and crisp. By the time you open the oven, the whole kitchen smells like an Italian bakery had a very good idea.
Then comes one of my favorite finishing touches: smoked Maldon sea salt flakes. Regular kosher salt will season bread. Smoked Maldon finishes it.
Those big, delicate flakes give you little pops of salt and a subtle smokiness that is ridiculously good with the olives, garlic, and rosemary. It’s not enough smoke to make the bread taste like it spent the weekend at a barbecue competition. It’s just there in the background, making everything taste a little deeper and more interesting. Don’t pulverize those beautiful flakes, either. Let them be the flakes they are.
How Do You Know When Focaccia Is Done?
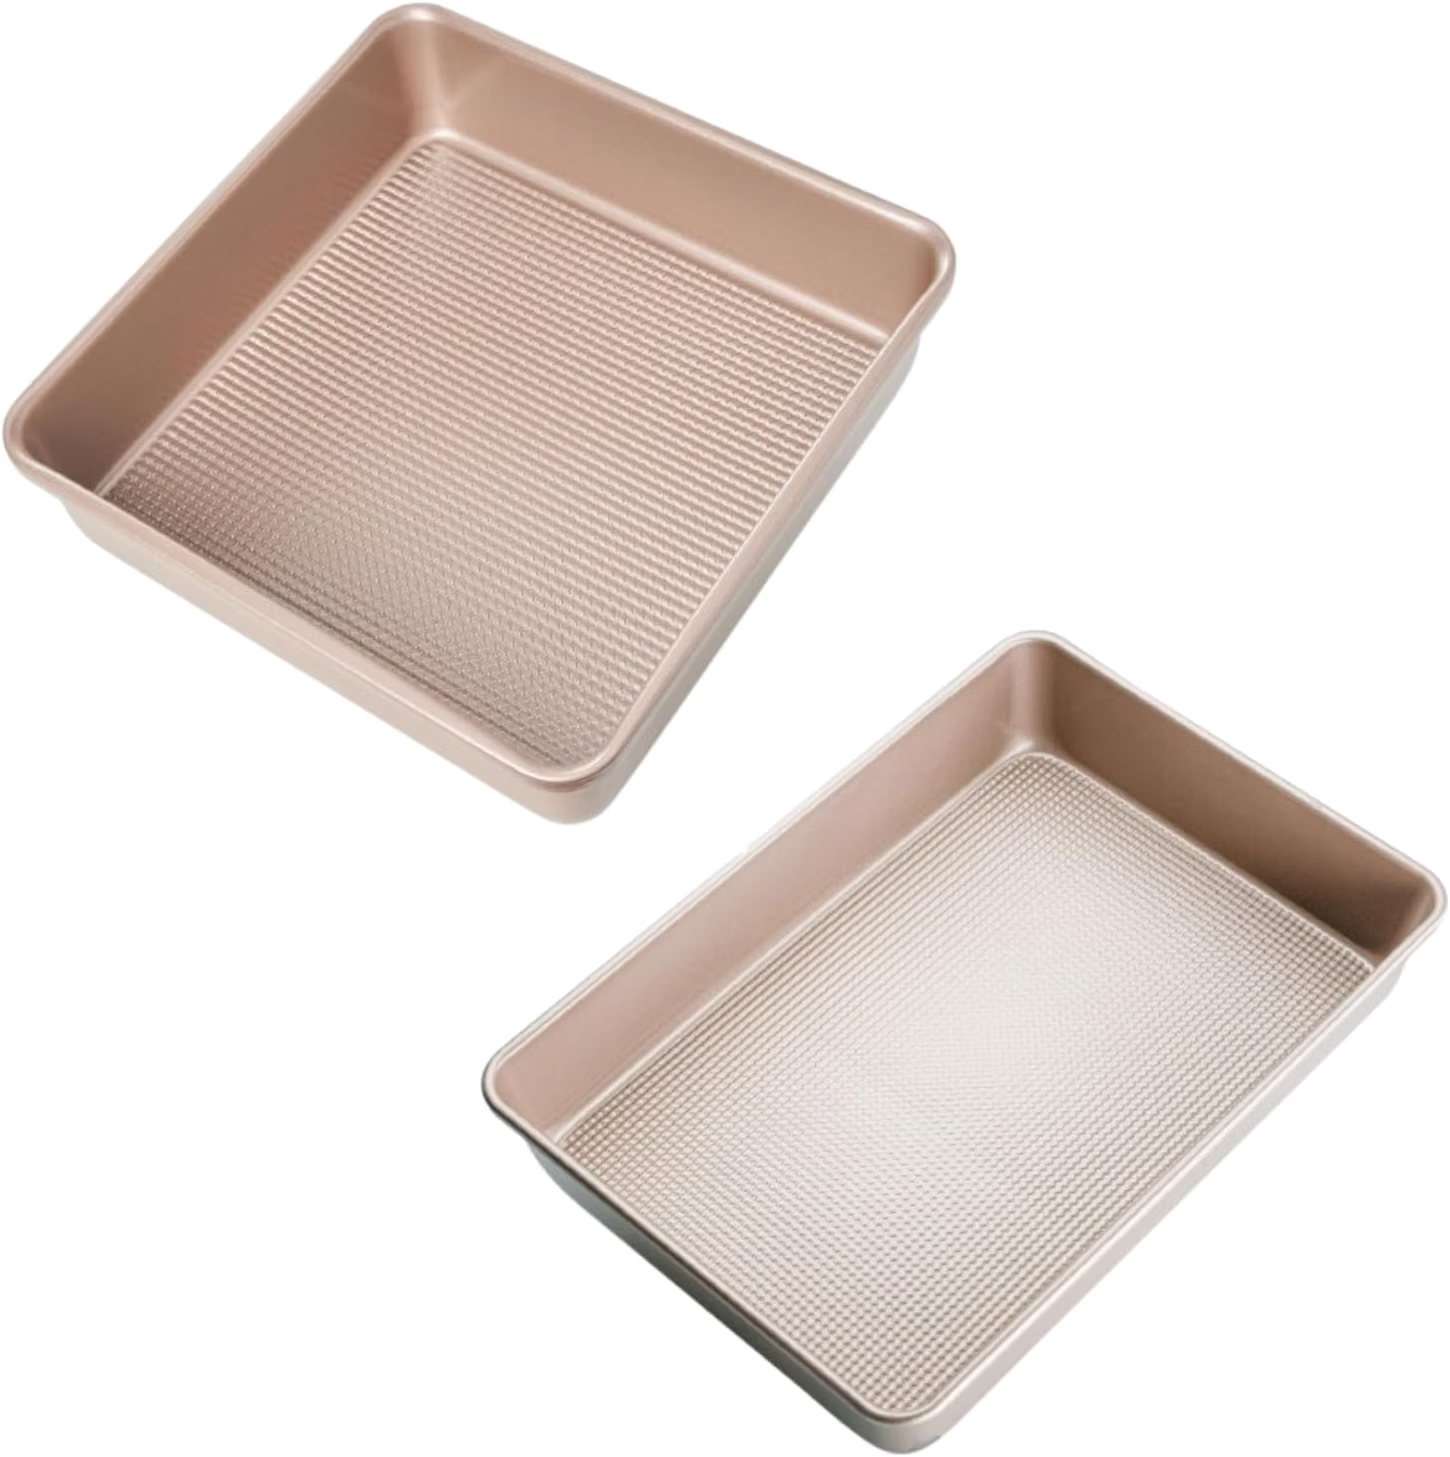
First of all, when making focaccia, you’ll want to choose a pan that is conductive. The more conductive your pan is, the more brown and delicious your crust will be. It also dictates how quickly and completely it will be cooked through. In other words, please don’t use a glass dish to make your focaccia. I’m not saying it won’t work, but you probably won’t have the brownest edges, and it may take longer to bake all the way through.
You’re looking for a deeply golden top, crisp edges, and a bottom that has developed some color from all that glorious olive oil. Pale focaccia makes me sad.
Let it get golden. The olive oil essentially fries the outside edges of the dough against the pan while the inside stays incredibly soft. That’s the magic combination: crispy outside, airy and chewy inside. When you cut into it, you should see irregular pockets throughout the crumb rather than tiny uniform holes. Give a piece a little squeeze and it should spring back.
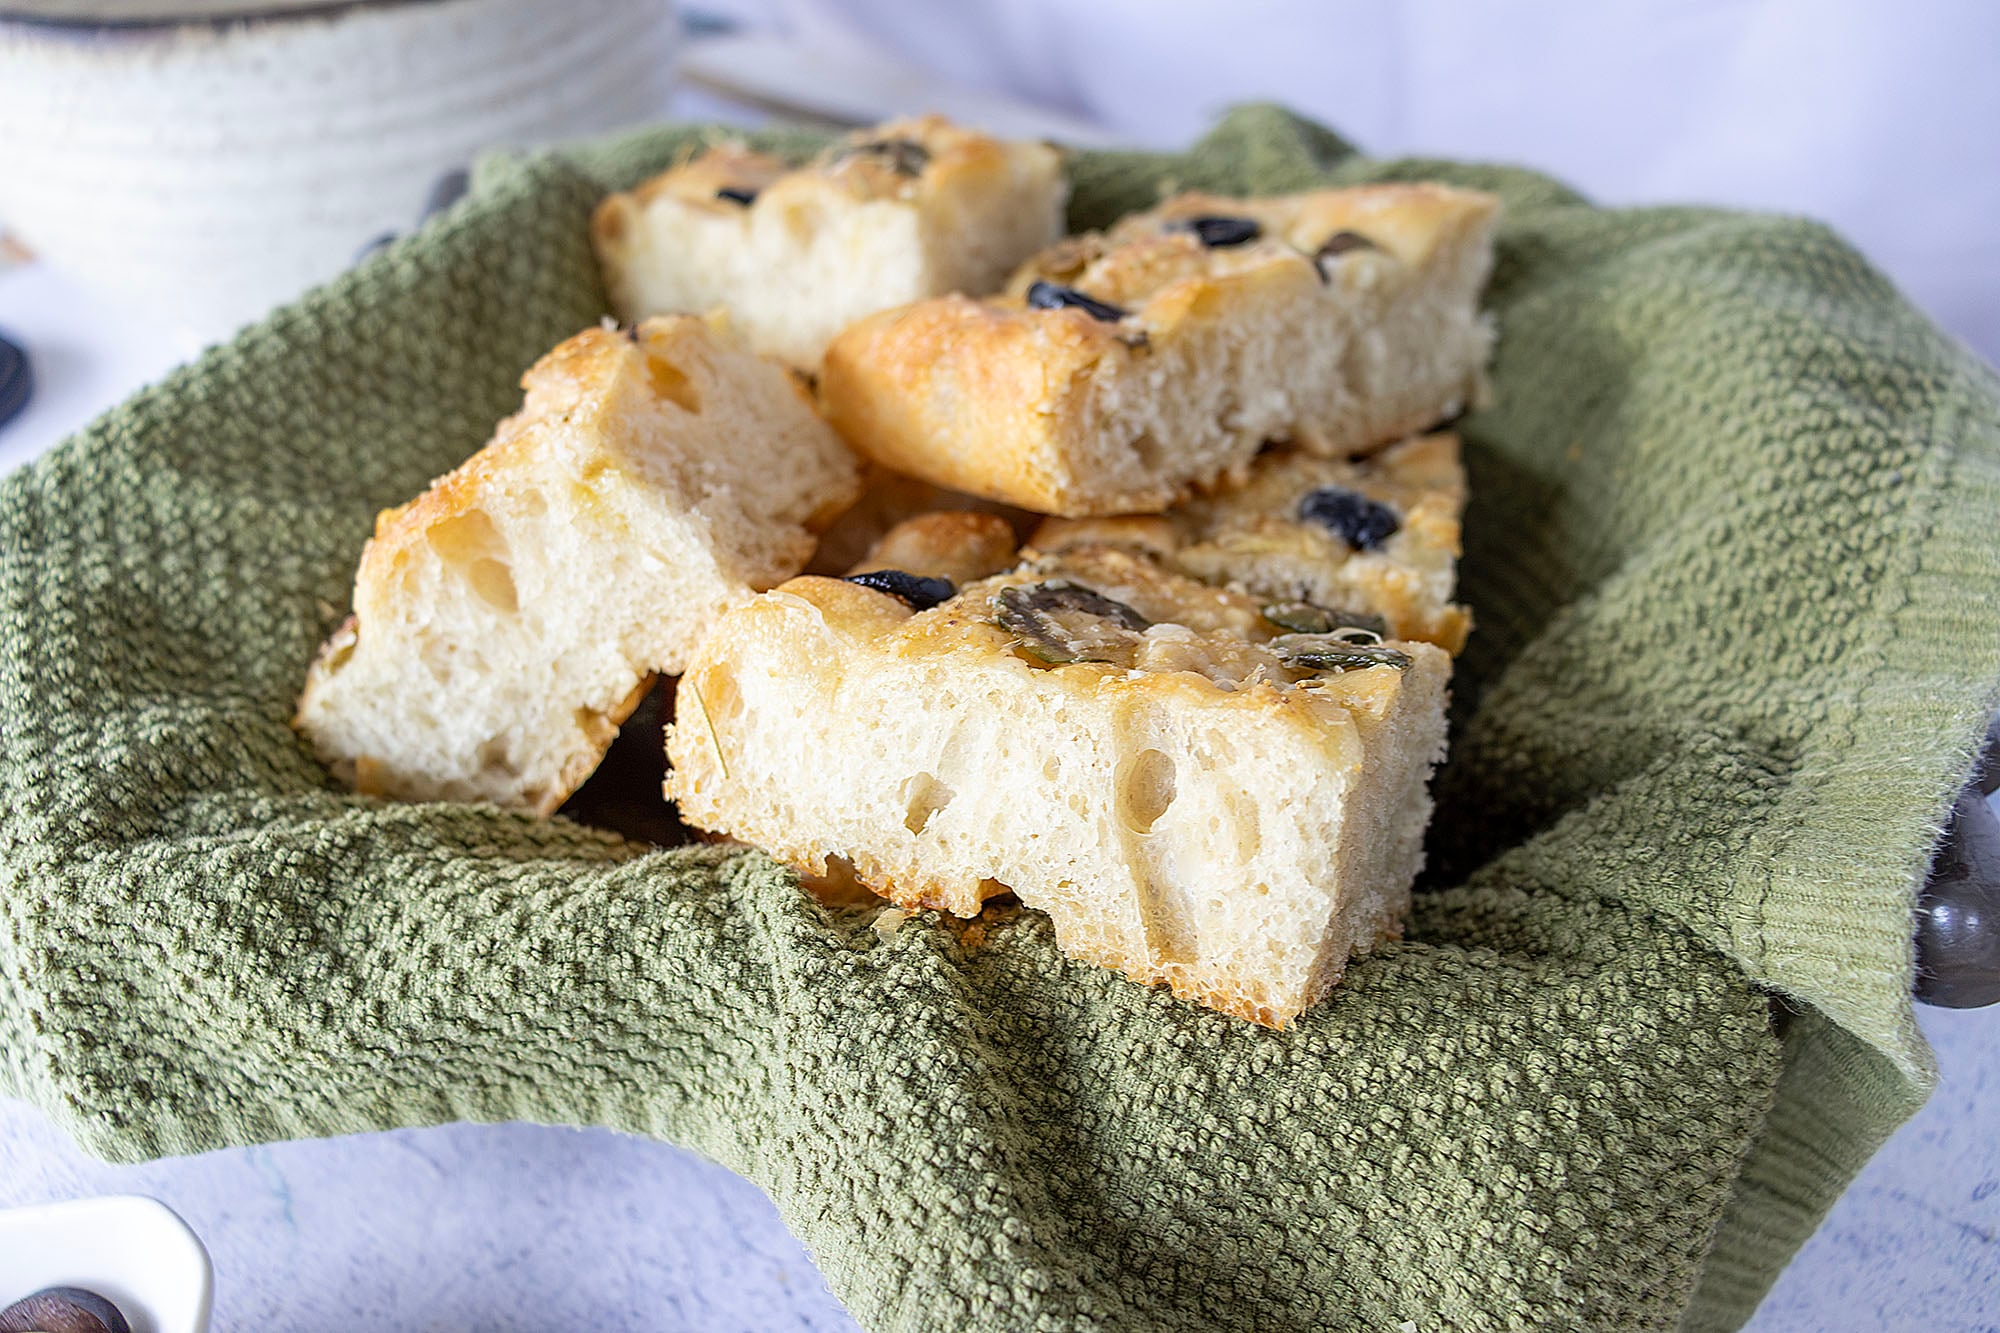
That’s the squish.
What to Serve With Asiago Focaccia
Technically, you can serve this alongside dinner. Pasta, soup, salad and roasted chicken are all perfectly reasonable choices. You can also tear off a warm piece while standing at the kitchen counter, dip it into more olive oil, and ruin your appetite before dinner. I have no authority to judge you.
It also belongs on a grazing board with cheese, cured meats, marinated vegetables, and whatever else you’ve got hanging around. Cut it into small squares and people will casually take one every time they walk past until suddenly the entire pan is gone and everyone claims they only had two pieces.
One of my favorite ways is to slice a thick piece horizontally and use it for a sandwich. Prosciutto, fresh mozzarella, arugula, tomato, a quick mixture of mayo and salsa verde.
Yes, please.
A Few Things I’ve Learned About Making Focaccia
First, don’t be afraid of sticky dough. Focaccia dough is supposed to be highly hydrated. Dumping flour into it until it behaves like sandwich bread is exactly how you lose that airy texture.
Second, use enough olive oil.
I know I keep saying that, but I’m going to keep saying it because somewhere out there someone is holding a teaspoon over a sheet pan. Put it down.
Third, don’t rush the rises. Temperature, humidity, yeast, and the general mood of the universe can affect how quickly dough rises. Watch the dough more than the clock.
And finally, handle those bubbles with some respect. By the second day, your dough has spent a long time creating them for you. Don’t mash the whole thing flat while you’re moving it into the pan.
We didn’t come this far to commit bubble homicide.
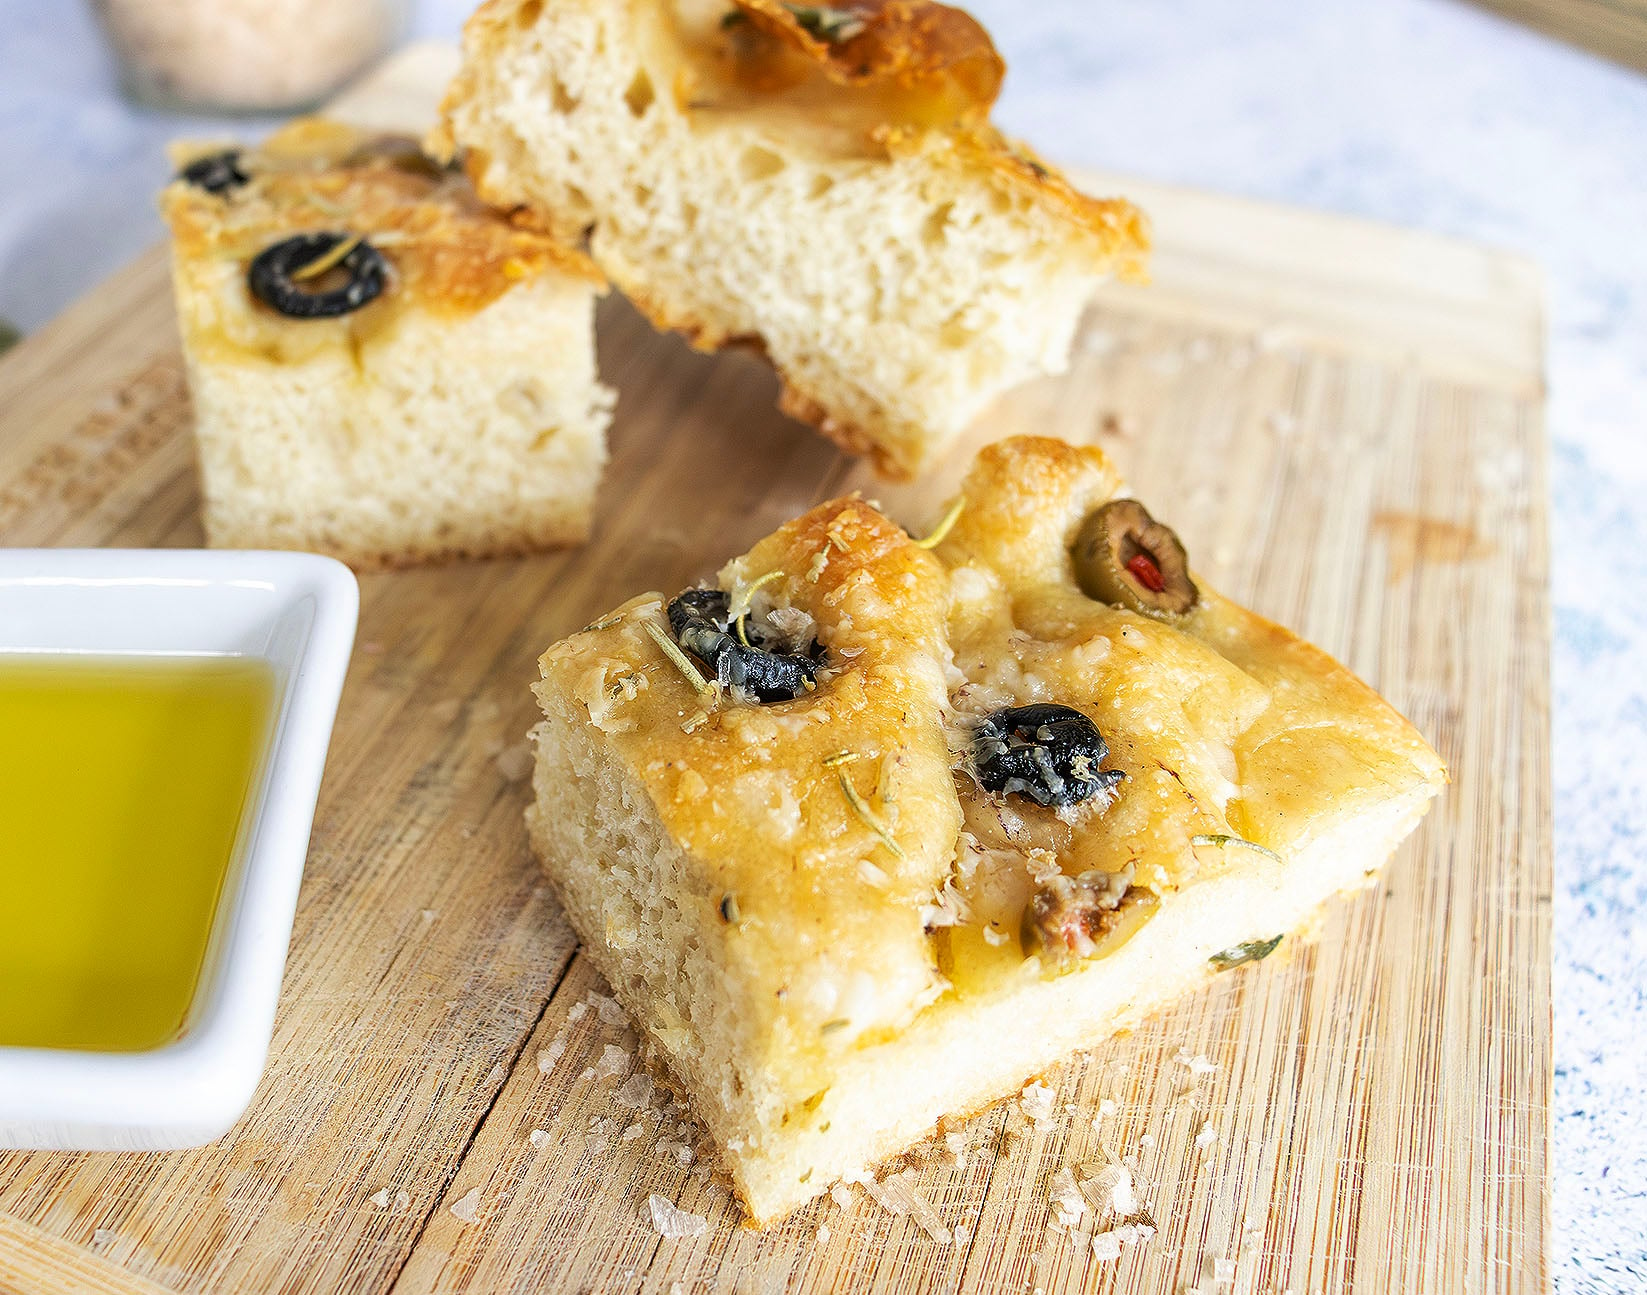
Worth the Wait
Yes, this Asiago Focaccia takes two days.
But that’s wildly misleading because most of those two days involve you doing absolutely nothing. Your actual contribution consists of mixing, folding, waiting, refrigerating, dimpling, topping, and baking. The dough handles the rest.
And what comes out of the oven is worth every minute of waiting: a golden, olive-oil-soaked crust, a soft and ridiculously bouncy center filled with beautiful air pockets, roasted garlic, three completely different olives, and those smoky little flakes of sea salt scattered over the top.
Tear it.
Dip it.
Make sandwiches with it.
Put it on a board and pretend it’s for everyone.
Just don’t expect it to last very long. Especially if you “taste one piece” while it’s still warm.
We both know how that ends.
Here’s your printable –
Asiago Focaccia with Olives and Rosemary Focaccia
This Asiago Focaccia is soft, airy and perfectly chewy, topped with three kinds of olives, fresh rosemary, garlic and smoked sea salt.
Ingredients
- 1 ¾ cups warm water
- 1 tsp dry active or instant yeast
- 3 ½ cups all-purpose flour, plus more for dusting
- 1 ¼ cups bread flour
- 3 tsp kosher salt
- ¾ cup olive oil
- 2 garlic cloves, minced
- 2 tbsp rosemary, chopped
- ½ cup Asiago cheese, finely grated
- ¼ cup Castelvetrano olives, sliced
- ¼ cup Manzanilla olives, sliced
- ¼ cup Kalamata olives, sliced
- 2 tbsp smoked Maldon salt flakes
Instructions
- Day 1 - Combine the yeast and water in the bowl of your stand mixer fitted with a dough hook and let it sit for 10 minutes, or until foamy.
- Add both flours and 1 tsp salt. Turn the mixer on low until a shaggy dough forms.
- With the mixer still running, pour in 1/2 cup olive oil. Turn the mixer up to medium speed and knead the dough until it is smooth and elastic, but still slightly sticky.
- Shape the dough into two equal size balls. If you're just making one focaccia loaf for now, place one ball of dough in a large oiled bowl and the other one in a large zip lock bag in the fridge for another use. To make two loaves, place both balls in the oiled bowl. Cover and allow to rise for 2 hours, or until doubled in size.
- Uncover the dough, and with oiled hands, pull up one side and stretch it up and fold it over the dough, turn the bowl ¼ of a turn and pull up one side of the dough, pull it up and stretch it over and fold, turning the bowl ¼ turn four more times, while repeating the stretching/folding. Recover the dough and let it rise for 30 minutes.
- Uncover the dough and repeat the turning/stretching/folding steps above, covering and let it rest 30 minutes two more times - for a total of 3 sets of stretch/folds with 30 minutes between each. After the last round, cover it and this time place it in the fridge overnight.
- Day 2 - Remove the dough from the fridge. Drizzle a 9x13 baking pan or large cast iron skillet with olive oil and very gently move the dough from the bowl to the pan (we don’t want to hurt any of our bubbles!). Gently stretch the dough if needed to make it fit the pan, drizzle with olive oil, cover and let rise for at least one hour.
- After the last rise, drizzle with a little more olive oil and using your fingers, make dimples throughout the top of the dough. Top with garlic, olives, rosemary, asiago cheese and smoked salt flakes. Cover dough while oven preheats to 425°.
- Bake for 35 – 45 minutes until golden brown. Before removing the focaccia from the oven, check to make sure the bottom is also golden brown or you will end up with soggy focaccia.
- Cool the bread on a wire rack for 30 minutes before cutting and serving.
Recommended Products
We are a participant in the Amazon Services LLC Associates Program, an affiliate advertising program designed to provide a means for us to earn advertising fees by linking to Amazon.com and affiliated websites.
-
 Maldon Salt, Sea Salt Flakes, 20 oz (570 g), Resealable Tub, Kosher, Natural, Handcrafted, Gourmet, Pyramid Crystals
 - Stock Your Home 200 Ct Unbleached Parchment Paper Sheets, Pre Cut Parchment Paper Sheets for Baking, Air fryer Sheets & Oven Liners FOr cookies, Bread, meat, Pizza (10.7”x13.75”)
-
 Ultra Cuisine Square Cake Pan Bundle - 9x13 Inches Cake Baking And Brownie Pan & Square Cake Pan 8x8 Inches


Notes
*Use a highly conductive pan - aluminum or aluminum-steel. Stainless steel by itself isn't conductive enough on its own to give you that good, brown crust. The darker the pan, the better.
Nutrition Information:
Yield: 18 Serving Size: 1 square Amounts Per Serving: Calories: 243Total Fat: 14gSaturated Fat: 3gUnsaturated Fat: 11gCholesterol: 6mgSodium: 544mgCarbohydrates: 24gFiber: 2gSugar: 0gProtein: 6gThe provided nutrition calculated may not always be accurate.